Showing posts with label business. Show all posts

Saturday, January 12, 2013

I do......

I got the wonderful opportunity to make a few things for another wedding this last summer and am finally getting around to showing you:)
 I met the beautiful bride, Katie through a friend and she asked if I could do a few pieces she had envisioned for her wedding. She had such a beautiful wedding with so many creative and beautiful details. I was even more excited when she told me that the amazing Haley Sierra was the photographer! Click on her name for her blog, or HERE for her website. If I had it to do over again, I would FOR SURE have used her. She captures the day so amazingly. I am in awe everytime I see a new shoot she has done!
I just did a couple chairs and a door for her, but make sure you click on the website above to check out the rest of her amazing day! (under Weddings:Taylor and Katie)

Heres the door she used as the entrance to the ceremony:


And heres one of the chairs. She used it to put these beautiful blankets on for the guests.


Dont forget to check out Haleys work. Youll be glad you did.

HAPPY SATURDAY!!

Saturday, October 13, 2012

How to make your own custom rubber stamps


I have always wanted a chevron stamp. Who doesn't these days right?? But the only one I could find was by Tori Spelling and was like $50. (Ill admit though, I make no apologies, I do love me some Tori)
So after seeing a few blogs on it like this one here from my ALL-TIME-FAVORITE- BLOG-I-READ-EVERY-SINGLE-DAY. I ordered a speedy carve block on amazon and my sister happened to have the carving tool set i needed. You can take any image (off the web, a magazine, a logo) and turn it into a stamp! For my chevron one I:
1. Traced some chevron fabric I had onto plain old printer paper (with a pencil, that's the important part)
You could use a printed image or anything else.
For this one I found this image online and then just altered it a little:

2. Place the paper on your carve block, image side down.
3.Rub over the image with a flat surface like a debit card.
4. Remove the image and you will have the penciled image now on the rubber.
5. Trace your image with a permanent marker or pen so it doesn't rub off while you carve.

6. Carve out the parts you want to be the 'negative space' on the paper.
7. Carve some more
8. Carve a little more

9. It will take a few practice stamps to see where you need to carve a little more. 
10. Stamp beautiful things!!
I have gone a little crazy with my few favorite images and am in need of making a few new ones.
Ive done some on paper with a stamp pad, but mostly on fabric mixing acrylic paint and textile medium.(Theres not much of a fabric paint selection in our little town. neons and puffy paint mostly, so I just get the textile medium to mix with ANY of the beautiful colors that come in acrylics! You just follow the t.m instructions, and heat set it after. 
Here are my favorite projects Ive done lately:
These directors chairs were my first project with the anchor.

Redid the curtains in my laundry room

This coffee table turned chevron bench.
Take that expensive chevron fabric!!!

Some chevron flour sack dish towels.
my price tags


Now go stamp on! I want to see some projects people:)

Wednesday, October 10, 2012

A nursery makeover!


I redid my sister, Robins office into a nursery a few months back for sweet baby Mckinley(who is now 6 weeks old!)

 I keep meaning to go back and take better pictures, but never have, so I figured Id just do the post already:) I will come back and add more later when I can figure out how to get pics off my old phone. I have a few tutorials I took pictures for. 

Heres the room just getting started:
(We didnt get the crib before. It was your basic wood crib and we painted it white.)

And after:(Its hard to get a shot of the whole room cause its so long.
I painted this dresser coral and white. I still plan on putting a large black owl silouette on the front, but need to find a projector. I painted the two lamps Robin already had white and then recovered the shades with some cute teal polka dot fabric. The candlesticks were pink and I painted them aqua. Right now they act as book ends.


Theres no closet in this room, so Robin came up with a great idea to utilize the space. This was originally her husbands desk, so he added a bar along the bottom to hang the itty bitty clothes.

The crib we painted white. (5 cans of spray paint later!) The bumper is 
one of those new
 breathable  ones that we got in white and I tried to dye. Little did 
I realize that Polyester + dye = no go. I had even gotten onesies and practiced before getting the bumper .
Totally different fabrics:) The velcro worked and the rest is a baby pink, 
but it actually works. I didnt want it too matchy matchy anyway.
The crib sheet was white and I dyed it coral. The curtains are a 
white with gray pinstripes(better picture to come i promise!)
 And the quilt I made one side out of this adorable dandelion silouette 
and the other side out of a piece from every other fabric in the room.
The curtains are a white with gray pinstripe with this great Amy Butler fabric
 on the bottom. It said "cherry" as the color, but I just knew it would work! 
The curtains totally lightened up the room! The gray was on sale for 2.99 a yard! 
You cant beat that and I think the flowers for the whole thing would have been too busy.


Heres the comforter on one side


I made this mobile with circles of coordinating fabrics , coral ribbon and an embroidery hoop. I just love how it turned out!
The artwork I did also. It was so simple. I just stretched some fabric over an old canvas with my staple gun(on the back), and used my cricut to cut out different sizes and shapes of flowers(and painted some aqua).
The framed flower I made out of fabric, painted an old frame and attached it to some chevron paper I stamped. Sooo easy!
The 'M' is the same paper I stamped, cut out on my cricut and attached it with some baby clothes pins to a strip of lace.


Heres the two drawers I painted, distressed and lined. I originally was going to hang these on the wall as shelves, but ran out of wall space.
So I decided an under the crib storage worked just as well.
(And the other side of the comforter)


This owl I am very proud of:) I couldnt find a cricut cartridge with an owl that had any more images I would use much. So I finally just used the basic one I have and cut out all different shapes to put him together! Isnt he cute!!? I got all these frames at garage sales this summer and painted them all white.
The "you are loved always" was a quote on my sisters pinterest, and cut out with my cricut.
The little two are just scrapbook paper and stickers I already had(with the right colors!!!)
And the 'M' I cut out of some old mat board and covered in glitter. That was a mess:)

So there it is!! Mckinley is still sleeping in her mommy and daddys room, but I know she will enjoy this room soon and her mommy already is!

And one more picture because I cant help myself:

Partying at :


Friday, September 21, 2012

My first Funky Junk sale!!!

I wanted to do some before and afters today, but my lack of technological smarts is making it a little hard. I finally got an iphone, which is great! But all my before pictures from the whole summer are on my old phone. I've tried dropbox, an htc downloader, and connecting it to my PC. All without success:) So for now Ill post some pictures of my last show, my biggest show yet.....Funky Junk!!! It was so much fun and a great way to spend Labor Day weekend! Here is our booth ( Amy from Vintage Farmhouse and I)
BEFORE:

It was in the feeding barn thingy. Sooo cool. The perfect location for a sale like this!
And here it is after Brandon and I arranged and rearranged(and rearranged) for about 2 hours:

My hubbys got the eye right?????!

Heres the sandwich board I made to put out in front of our booth:

Look at the line!! So exciting:)


Heres a bench of Amy's and a towel/coat rack I made from an old headboard(both of which sold, yay!!)

Here's a table and chairs I redid(bench on the other side built by my dad)(sold)

Heres a vintage dresser I redid. The sides of the drawers are navy blue and the original wood casters are on the bottom. I didnt sell this one and am trying to decide if I should bring it to the Vintage Farmhouse sale tomorrow. I kind of want to keep it:)The stool Ive already made a spot for in our kitchen:)
Heres Amys super cute spindle coffee table(which sold) I wanted it! She made all the little dividers in the bottom from different chair spindles, ax handles etc. How creative!!


Heres my favorite piece I have done thus far!! This beautiful antique desk. 1 of the drawers was missing, so my dad helped me turn the two bottom spots into shelves.
Heres the before and after:
Its so heavy, sturdy and beautiful. I was so glad to see this go to a great home with a new client K, who is now having me help her redo her bedroom. She has such amazing taste for a (17?) year old!


Here are two end tables I did. The legs were actually on a beautiful table I got at my churchs yard sale, but the top needed a lot of work. So we took the legs and made it two baby tables instead:) (sold)


Heres a vintage vanity I redid (that maybe didnt sell because its buried over here:)
Those beautiful vintage butterfly clips were a collection of my friends mother.  The ones that are left will be at the Vintage Farmhouse sale tomorrow! 

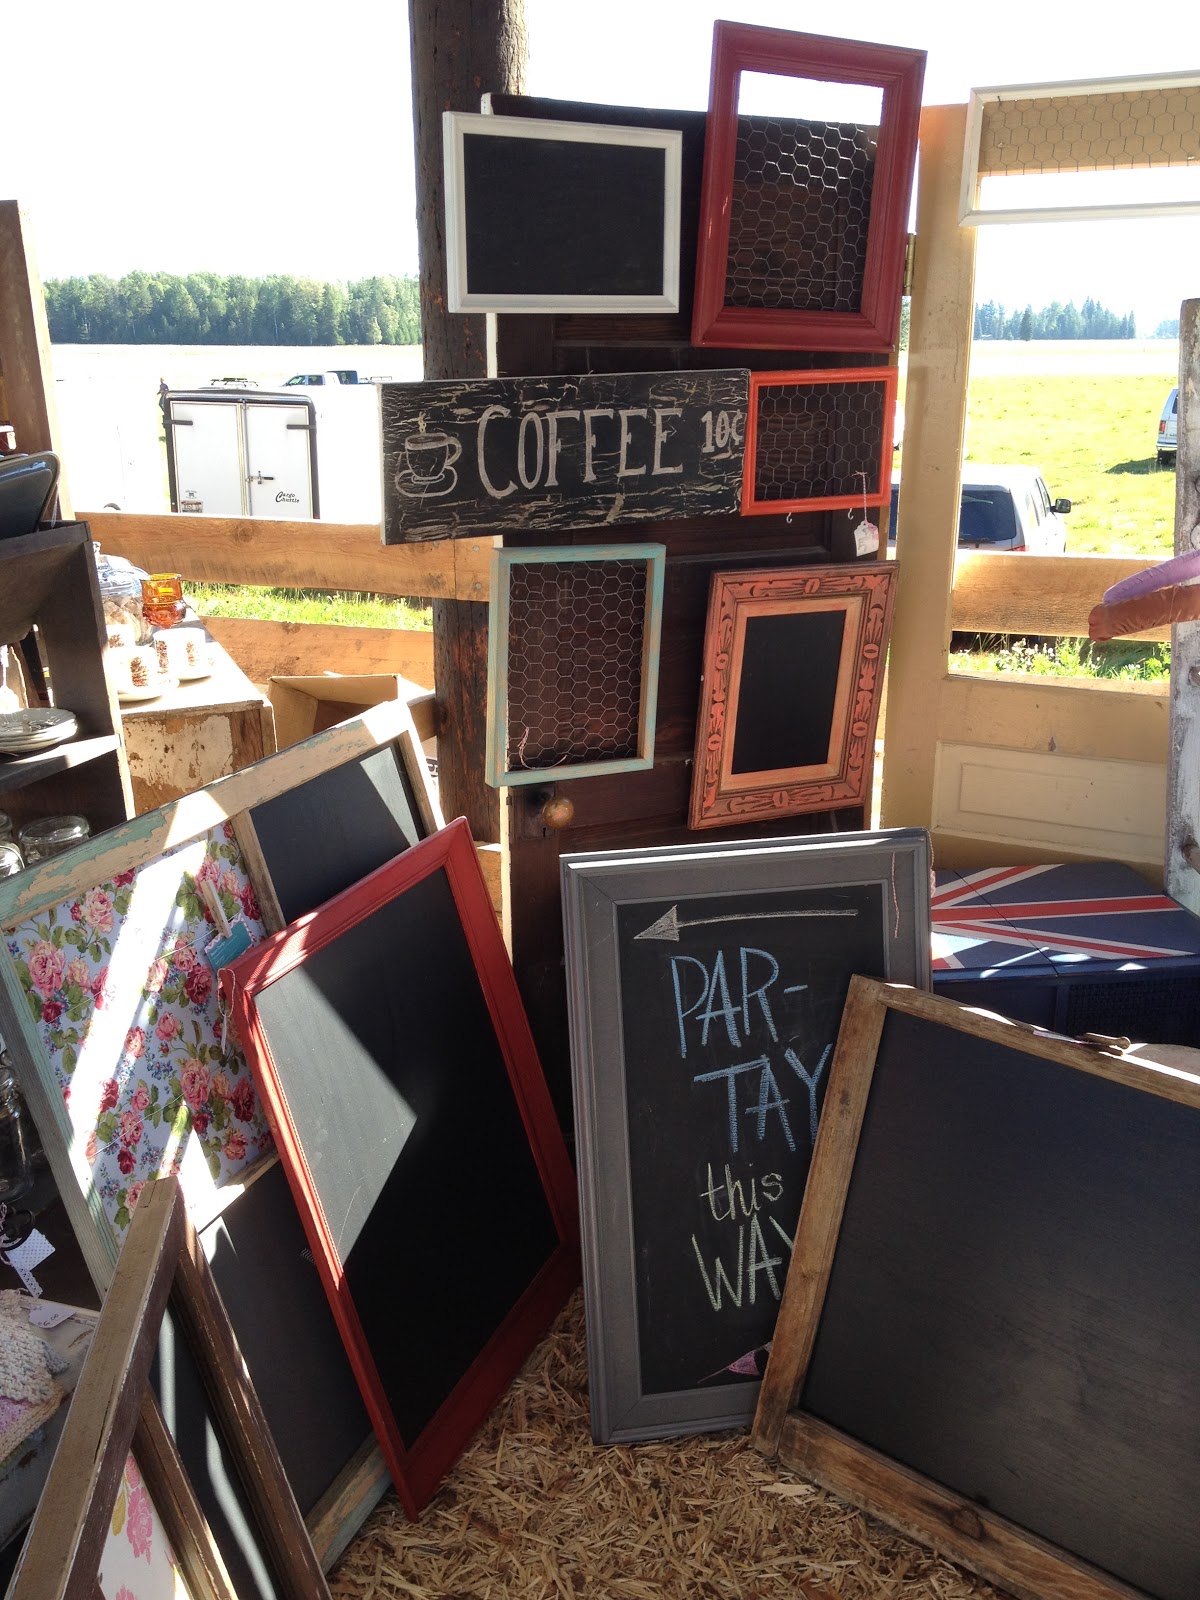
Some of my chalkboards at the sale(all sold!)

Some smaller chalk boards and these lovely drawers for storage!
Amy did the adorable "cowgirl" seat...love it!

Broken bookshelf turned table/stand/bench and a memo board in the back made out of an old window frame. Cork, magnet and chalk!

Check out that AMAZING coffee table made from an old sled Amy made! 

Coffee table turned burlap bench(sold)


Amys awesome chair, signs, spindle boxes, and milk jug


No joke, this man bought my oars!! You kidding me?! perfect!

Amys handmade cabinets and spindle boxes up top(I think she has one left that she will be selling tomorrow) 


And heres the girls and I modeling Crazymomadrama head wear!

It was sooo much fiun! I cant wait until the next one in April!!!

Come see whats left at Amys Vintage Farmhouse sale tomorrow, Sep 22! Her daughter just got married too at their house, so they are selling bunches of tables and benches in addition to these lovelies.

Heres a few new signs I've been trying out that will be at the sale tomorrow:


Ill also have the vanity, some pretty chairs, a shelf, a dresser, my dishclothes I made, my union jack record player, and much much more!!! Hope to see you there!


Wednesday, July 25, 2012

The little nightstand that could

I found this little beauty, but she was injured. Her poor drawer was lost so I helped her through her recovery. And how better to recover than by first slapping on some coral paint!!! And then making a shelf(And using the saw BY MYSELF I might add:) and adding a cutesy paper and laminating it. Dr. Aprill saved another life:)

Before:

And after:

This didnt sell before the show was over, and I was kind of excited to take it home. I took Emmas nightstand  with the chalkboard top that was just too short for her bed and sold it earlier in the day, so thought she would be pumped to get this pretty one. But as I loaded it up in the truck a girl came back to buy it. Woo hoo for her! Sad for Emma. But thats why she has this mommy right? I can make another one:)

 
SITE DESIGN BY DESIGNER BLOGS